Each year I search for easy, fun and CHEAP gift ideas for my son’s teacher. I like to find projects that he can help me make, also, this year we are on a firm budget. So, to try to stretch that dollar a little further, but still show our gratitude to his wonderful teacher(s), we decide to make Pop-Top Cans. See the simple steps below.
Click below to watch a How To video, featured on Moms Everyday on KWTX (may not show on mobile device)

The items you will need:
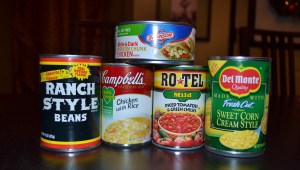
- pull-top can (fruit cans work best)
- smooth-edge can opener
- craft paper or gift wrap
- scissors or paper cutter
- tape
- glue gun
- candy or other items to put inside cans
- ribbons, stickers, or other adornments for outside of cans
Most of the items you will need are house hold items. The biggest expensive might be the smooth-edge can opener. (I bought one a few years ago at HEB for about $8. I use it all the time!) Also, fruit cans work best, because they don’t have an odor after you clean them out. (Cans that had chile or soup in them don’t smell great, even after a good scrub. Stick to the fruit cans.)
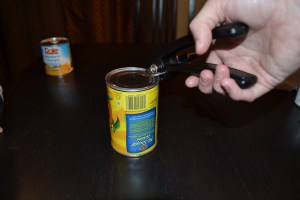
First things first… you need to empty the contents of your can by using the can opener to open the BOTTOM of the can. Leave the top pull-tab in place. (My daughter loves mandarin oranges and I love canned pears, so we are well stocked in these types of cans)

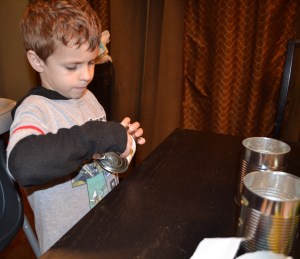
The next step is to take the label off the cans. (I had my handsome assistant help me.)
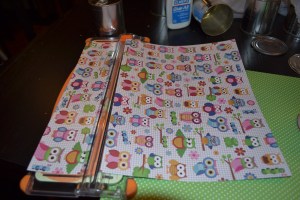
After the label is removed, measure the can and cut a strip of scrap booking paper or gift wrap to fit around the can. You can use tape to adhere it to the can.

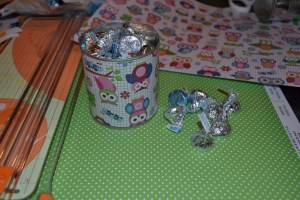
Next, the can can be filled with candy. I put Hersey’s Hugs and Kisses in our cans, but you can be creative. I thought of a few other items to put in the can: gift card, desk supply (paper clips, tacks, etc.), stickers, lip glosses, gum, necklace… the list goes on!
When the can is filled with goodies, you may want to tuck a small piece of tissue paper inside to finish filling the can and to protect the items from getting hot glue on them. Next, you will use a small amount of hot glue around the edge of the “lid”. Press it on, and remove any glue strings.

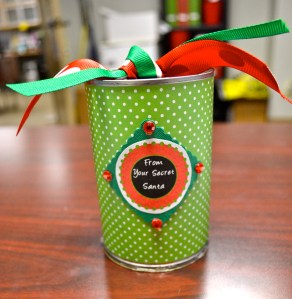
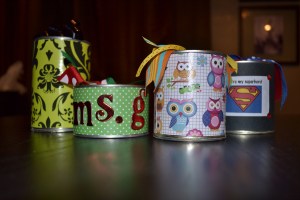
Once the glue is firm, turn the can over. You can embellishing the can with ribbon on the pull-tab, add a little note, attach letters… so much can be added to the cans. They are easy to make and fun to give! Your child’s teacher will love them!


![[Original size] an](https://anoriginaloutlaw.com/wp-content/uploads/2020/03/original-size-an.png)